So, you are all hyped up after reading about nerf guns and blasters, want your kids to give it a try as they look pretty excited but are still slightly unsure if buying them just at the very beginning would be a good idea or not.
Well, there’s nothing a little DIY skill can’t fix. If you love making things as an alternative to a store-bought version then today’s piece of writing will surely interest you. As we will be giving a complete guide on how to make a homemade nerf gun for kids who are barely starting with the great game of nerf. Keep on Reading…
Discussing How to Make a Home Made Nerf Gun – Segments We Will Cover
- First, we will discuss what items and supplies you’ll need for the process.
- Then comes the pump dissembling phase which is very easy.
- Next, we will do some drilling jobs to fit the pump and barrel.
- Insert the pump and barrel into the drilled holes carefully.
- Seal all the gaps and hold the components in place using some adhesive or hot glue.
- And finally, add a preferable paint on top or skip it to simply load the newly made gun to start firing.
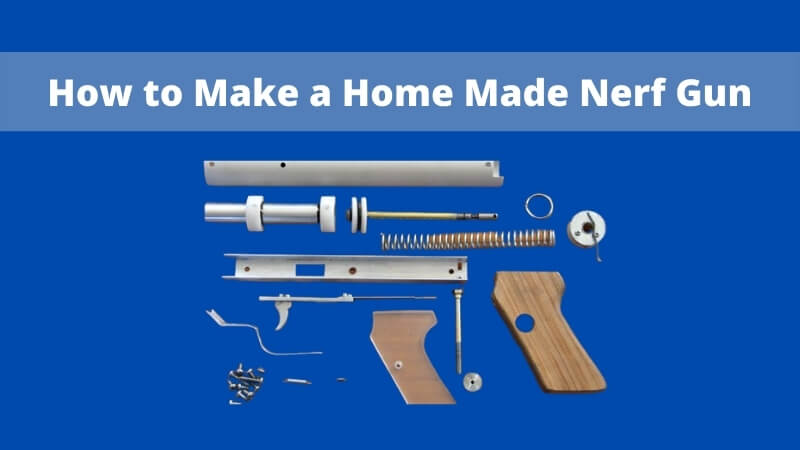
1. Grab These Items First
There is one dollar ball pump available in the dollar tree that you are going to need for this project. Next, you need five feet of CPVC pipe that should cost between 3 to 4 dollars. You’ll need around three inches of the ½” pipe.
Next, get an end cap for the half” CPVC. A drill is necessary with a quarter-inch bit and a half-inch bit both. You need adhesive or hot glue whatever is available. And that should be enough for this DIY project.
2. Start by Pump Dissembling
A rear cap should be there that holds the plunger in the pump. You need to unscrew it with a suitable head screwdriver. And that will help you to take the plunger out from the pump. Make sure you are careful when taking the plunger out.
3. Then Get into Some Drilling Job
You want to make sure there’s better airflow. So, it’s necessary for taking the tiny valve that resides right on the end of the pump. Carefully remove it. Bring the quarter-inch drill bit and drilling machine.
You want to create a hole near the pump’s end area. There should be some plastic shavings after finishing drilling. Get rid of those by blowing out. And then you want to reassemble.
You also need to make a hole in the PVC cap. It should be huge enough to fit the pump ends perfectly. Also, you need to drill the hole right in the centre of a PVC end cap. If the hole however gets a bit off-centre, that’s ignorable.
You can use the half-inch drill bit for this phase. However, chances are that the hole won’t be large enough with the bit alone. Use a pocket knife if that’s the case. You can carefully use it and enlarge the hole which is apparently not big enough.
Keep in mind that the fit must be tight and nice. And so, you want to start with lesser than required measurements or create the hole. You can work your way up and enlarge the hole. But if it ends up becoming bigger than what we are intending to, there’s no going back. So, play things safe.
4. Pump & Barrel Insertion
After the hole is ready for the pump to fit in, make sure you are careful while inserting. Once it’s inside, go for a good press so that it’s down there tightly. You can use some sort of adhesive here. Hot glue also works fine to hold the pump in place. Also, this way you can prevent any air to leak from the hole in case there are gaps existing.
Once you are done inserting the pump, focus on the barrel. You want to put the CPVC barrel inside the end cap as well. It should also tightly fit inside. And so, here too you’ll need to apply some sort of adhesive. For the most pleasant results, try to use some PVC cement for barrel attaching. However, if you are inserted in painting the PVC, it’s best to not use the cement and simply opt for glue instead.
After this, you are ready to load the dart. Simply put them inside the barrel. And let the plunger handle pull backwards. You can then push it slightly forward. Make the push quickly and the DIY gun should fire. The end result will be powerful enough for toddlers and small kids. Of course, it’s safe as well.
5. Finish it Off with Your Favorite Paint
You can choose to go for this extra step or simply avoid it. But kids love painted and completed nerf guns. And they won’t feel you have gotten them something less beautiful than the store-bought ones. When choosing the paint, make sure you are a bit wiser at taking the decision.
Usually, the best afterlook providers are Vinyl dyes. As these look amazing on PVC components. But that won’t be a very good idea overall. Because vinyl dyes are really vulnerable to bonding with pump bodies made out of plastic.
And so, it has a high risk of peeling off. Go for paints that are meant to be applied to plastics. A beautiful colour concept would be the pump being blue while the rest is covered in a black shade. You can even outline with orange or white colour for adding highlighting features.
Or there are multiple other colour combinations that you can try. Ask your little one who will be the owner of this DIY gun, and let them choose the colour palette for themselves.
Wrap Up
See? It’s actually pretty simple and nothing very confusing once you get a complete overview of the entire topic. Hopefully, by learning how to make a homemade nerf gun you’ll be able to save some money while your kid won’t deprive himself or herself of some good beginner’s nerf training sessions.
Also, if you enjoy such DIY projects, then this could be your chance to hold a mini-DIY family party to make homemade nerf supplies for the kids while spending some fun moments with each other. There’s no way both the parents and kids won’t appreciate and love this bonding period of making fun of nerf goodies. Enjoy!
Related Resources:
- Not Sure How Do Nerf Guns Work? (Check This)
- Discussing How to Fix a Nerf Gun That Won’t Shoot or Fire
- Learn How to Make Nerf Darts All by Yourself
- Learn How to Win a Nerf War by Improving Your Strategies
- 9 Different Types of Nerf Dart Explained for Nerf-Noobs
- The Awe-inspiring History of Nerf Guns You Need to Know