DIYing stuff has become a phenomenon thing nowadays as it’s helpful to get you to save some good money that could have been spent on the store version. But another fabulous reason is DIYing gives a lot of people a sense of mental pleasure by being able to customize something themselves that they’ll be using.
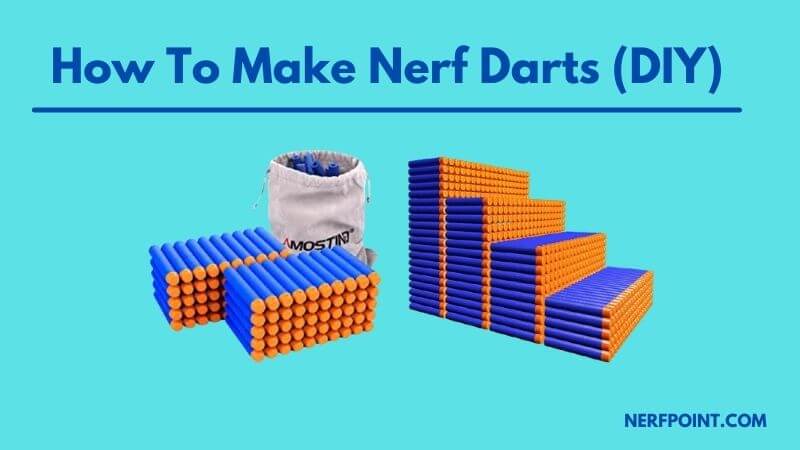
Nerf world is also welcoming this great fun activity and there are a bunch of things you can sort by DIYing. For example, you can spend some quality time with the kids by helping them make homemade nerf darts. Now that plan also needs you to know how to make nerf darts that will be a solid replacement for the bought options out there. Let’s get you cover on that today.
- Wisely choosing the material of foam.
- Heat, stretch, and straighten application on the foam.
- Dart blanks shape and cutting.
- Working on the tips of darts.
- Attaching the darts with glue.
- Dart’s final making.
Before reading the tutorial, you can watch this video to get an idea
1. Picking the Material for Foam & Barrel.
Being a bit careful with the foam and barrel material will help you make some good darts by the end. Probably quite similar to the store-bought version. Here are a few things to critically emphasize when choosing the material.
- Avoid local hardware store FBR foams that are of black and grey colour.
- Go for bright colour ones as these are good for a better recovery rate.
- Checking foam fits to determine dart material.
- Pressure-building versions work best for tight-fit springers.
When you want to go for the best foam out there a few things that need serious consideration are the probable amount, the price, its colour, and also density.
A small quantity of foam will be enough for nerf players who go for wars quite rarely each year. However, if you are someone really dedicated, opt for a larger quantity.
In terms of price, it actually depends on which manufacturer are you buying from. Also, if you are buying in small quality, the gross price per foot is more compared to when you purchase in larger quantity.
About the colour, you already know it needs to be bright as that’s really important for the overall recovery rate. And density is something quite hard to measure.
However, the rule of thumb is opting for more cells as well as smaller ones. That’s supposed to be better density foam in general view. If you can feel it’s very squishy after rolling around your finger, it’s probably the perfect one. Also, darts that are made from firm foams work really well.
2. Applying Heat or Stretch (Sometimes Both).
Usually, foams come in rolls or spools. So, straightening them can be necessary. Depends on what sort of dart shape you are aiming for.
You can heat the foam and get it straight. Decide a preferred dart length and cut them into it. And finally, toss it inside a pillowcase. Let them toast inside the dryer for five to ten minutes and they’ll come out perfectly straight. The hairdryer and mesh basket both work fine.
Now you can also choose to stretch the foam by applying a method that works well for you. One really simple way is to cut the foam into the measurement of your ceiling height. Then put some sort of weight on one end. And let the other end suspend from the ceiling.
You want to keep things like this for at least a few days or weeks if possible. Adding or lessening weight will depend on how much stretch you want. After some trial and error, things should get to your preferred fit.
3. Get Dart Blanks Ready.
Square cuts are very versatile and simple too. You want to grab a tubing piece that loosely fits the foam. Feed foam through it and cut a slit. The tubing should stay intact while the cut is deep enough.
Holding a razor blade through the slit, if there’s no light passing, it’s a perfectly deep cut. Slit’s location depends on the blank length you want to go for. It should be equally distanced from tube ends.
Also, the tubing should have a generous amount for you to work conveniently. Fit something inside the tube next. Let it fix to a cutting board or cardboard piece using duct tape or glue.
Feed through the pipe end your foam and try to keep it away from the slit. It should flush with the tube’s other end. Cut the slit and make sure it’s clean. Again, feed foam and repeat the process. Go for multiple slots for making the process fast. Mitre box can help or something meant for square cuts.
4. Making the Darts
Slug darts are what we are going for. Start by cutting blanks for creating ahead. Aim for making tips before glueing. Peel a felt disc and stick it with a washer. Try to keep it centred. Keep the tip side down and rinse. Carry on the process for multiple tips making.
Then follow up with glueing together the tip and foam. A hole or cavity inside foam is necessary for holding the tip inside when you glue it together. This makes the dart long-lasting.
You can use a hot glue gun for burning the hole. Make sure the whole washer is sitting down inside this glue cavity. Also go for mini hot glue guns for better controlling the process.
Also, while glueing makes sure it entirely covers the washer, adjust the tip to be in middle, and fill the hole completely. Set the finished piece aside and repeat. Once you are done with all and those cool down, the homemade darts are ready for use.
Wrap Up
And we are done with how to make nerf darts discussion. Hopefully, you’ll be able to create your own darts to start the destruction in battles. These are pretty simple to make, maybe a bit time-consuming.
But after creating a dozen of these, you’ll get used to the process and it’ll become more fun. Have a good time making them with your kids, see you soon on some other nerf chat. Till then Happy Nerfing!
Related Resources:
- Not Sure How Do Nerf Guns Work? (Check This)
- Discussing How to Fix a Nerf Gun That Won’t Shoot or Fire
- Learn How to Make a Home-Made Nerf Gun the Right Way
- Learn How to Win a Nerf War by Improving Your Strategies
- 9 Different Types of Nerf Dart Explained for Nerf-Noobs
- The Awe-inspiring History of Nerf Guns You Need to Know